

- Stock: Out of Stock
- Model: N025.PH
pH Sensor Module
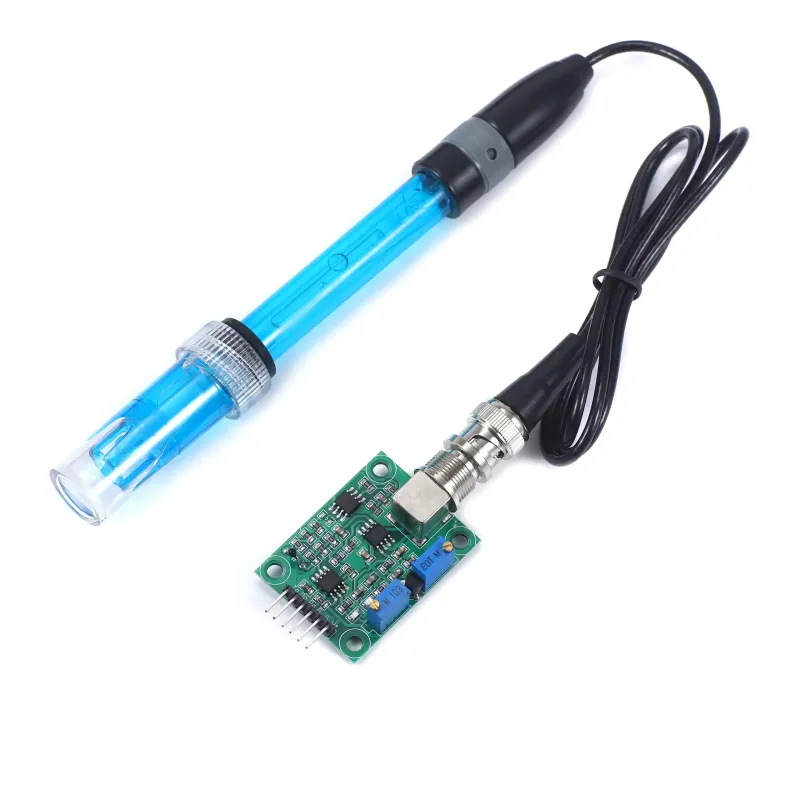
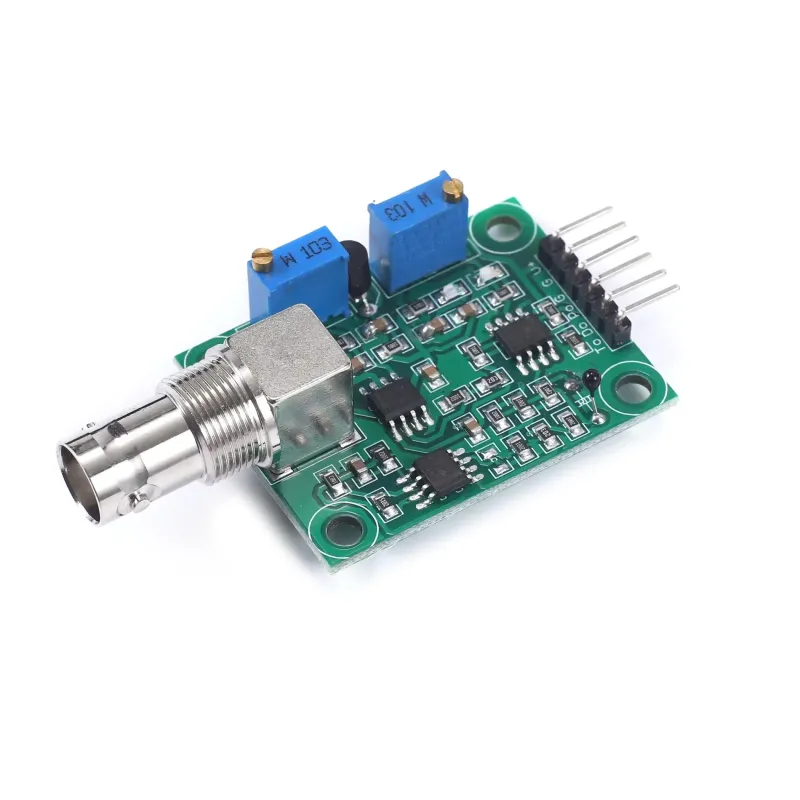
The Arduino pH Sensor Module is a highly precise device designed to measure pH levels ranging from 0 to 14. It operates based on the concentration of hydrogen ions and is compatible with most pH measuring devices equipped with a BNC connector. The sensor, which has a cylindrical structure, comes with a 75cm cable.
Key Features
- pH measurement range: 0 to 14 PH
- BNC connector, compatible with most pH meters and controllers
- Applications: aquariums, hydroponics, laboratories, etc.
- Zero point: 7 PH ±0.5 (25°C)
- Alkali error: 0.2 PH ≤15mV
- Theoretical slope: ≥ 97% (25°C)
- Internal resistance: ≤ 250MΩ (25°C)
- Response time: ≤ 1 minute
- Operating temperature: 0°C to 60°C
- Connection type: BNC
- Adjustable gain with potentiometer
- Probe length: 17cm
- Cable length: approx. 75cm
- Weight: 50g (100g)
Package Contents
- 1 x pH Electrode Probe
- 1 x Measurement Module
- Connection Parts
Preparation Before Use
- Remove the protective bottle from the electrode carefully and set it aside.
- Clean the white sedimentary salt on the electrode using deionized water.
- Ensure the liquid level in the tube immerses the tip of the spiral glass tube and exceeds the sample liquid level by at least 1 inch (2.5cm).
- Shake the electrode gently to remove air bubbles.
- Soak the electrode in pH electrode storage solution for 1 hour. If storage solution is not available, add 1g KCl to 200mL pH7 buffer as a temporary storage solution.
- Store the bulb tip in a long-term protection solution to activate and protect it.
Using Electrodes - Points to Note
- Use fresh buffer solution.
- Open the electrode protective cap.
- Measure the gap and rinse the electrode with deionized water.
- Stir the buffer and sample: a) always stir at the same speed; b) stir first, then measure.
- Rinse the electrode with distilled water before and after measurement. Use a lint-free cloth to absorb excess water from the electrode tip to avoid static electricity.
- Ensure the buffer temperature is the same as the sample. If the sample temperature differs, use a temperature compensation probe for correction.
- Periodically check the electrode slope using a two-point calibration method. If the electrode reading drops or the slope is below 92%, clean the electrode as described in the electrode cleaning section.
Electrode Maintenance
1. Cleaning the Electrode
Soak the electrode in 0.1M HCl or 0.1M HNO3 solution for 15 minutes, then soak the electrode in electrode storage solution for 30 minutes.
2. Removing Blocked Liquid Junction (Salt Precipitation)
Soak the electrode in warm water (60°C) for 15-20 minutes; soak the electrode in warm saturated KCl (60°C) solution for 20-30 minutes and cool to room temperature; soak the electrode in pH 4 buffer solution for 20-30 minutes. Check for excessive crystals, and if present, repeatedly rinse with deionized water to check normal flow.
3. Removing Inorganic Matter Deposition on pH-sensitive Membrane
Clean with EDTA, ammonia, or acid.
4. Dehydration of pH-sensitive Membrane
Activate the electrode by soaking it in 0.1M HCl for 1 minute, rinse with tap water for 30 seconds, soak in 0.1M KOH for 1 minute, rinse with tap water for 30 seconds, calibrate with buffer solution. If it still doesn't work, repeat the steps up to 3 times.
5. Long-term Electrode Use and Maintenance
After 2-3 months of use, perform bulb cleaning and check the liquid junction for blockages. Remove the electrode from the environment and inspect for any dirt on the bulb surface. If any dirt is present, wipe with ethanol cotton and clean with deionized water. Check the liquid junction for any contaminants, rinse with deionized water or shake the electrode back and forth in the measurement container. If the water is not clean, replace it until the contaminants disappear. Then rinse the electrode and place it in an activation solution for 8 hours, followed by standard solution measurement to restore measurement condition.


